When you have an orchid that you love, it makes sense that you would want to get more. The good news is that it is very possible to propagate an orchid to create new orchids that are a clone of the original plant. Taking a cutting of an orchid stem works well for some types of orchids.
There are many different ways to propagate orchids. Some of the methods, like division or taking keikis, are very easy and pretty much guarantee success. Rooting an orchid stem from a cutting is a little trickier, though.
The method of propagation differs among the different types of orchids. For orchids that cannot be divided or do not readily produce keikis, using an orchid stem might be the only option.
Keep reading to find out how to propagate an orchid stem and how to successfully create tiny new clones of your orchids. The process takes a while, but I encourage you to give it a try.
How to Propagate Orchids
If you are ready to try propagating your orchids, it’s important to know which type of orchid you are working with. The type of orchid determines which method of propagation you should try.
The most common ways to propagate orchids at home are through cuttings, division, and from keikis. Commercial growers tend to propagate using tissue cultures. This is one of the fastest methods for propagating orchids, but it requires special equipment and a sterile environment. This method is not an option for people propagating orchids at home.
Most people are familiar with the idea of propagating plants from cuttings; however, not all orchids can be propagated from a stem cutting. Orchids you can propagate this way include Ascocentrum, Dendrobium, Vanda, and Ludisia.
If you have never propagated an orchid this way before, try starting with a Dendrobium first because they tend to take to this method the best. The cutting propagation method differs from what you may be used to with other plants.
For example, with my pothos plant, I can cut off the end of part of the plant, stick it in a glass of water, and place it in a container for a month where it will happily continue growing. If I tried to do the same thing with an orchid, nothing would happen.
Let’s talk about what you need to take into consideration before rooting an orchid stem in water to create new orchids.
Selecting the Cutting Stem
Once you have decided to try propagating and have selected the orchid you want to propagate, the next step is to pick a stem to cut.
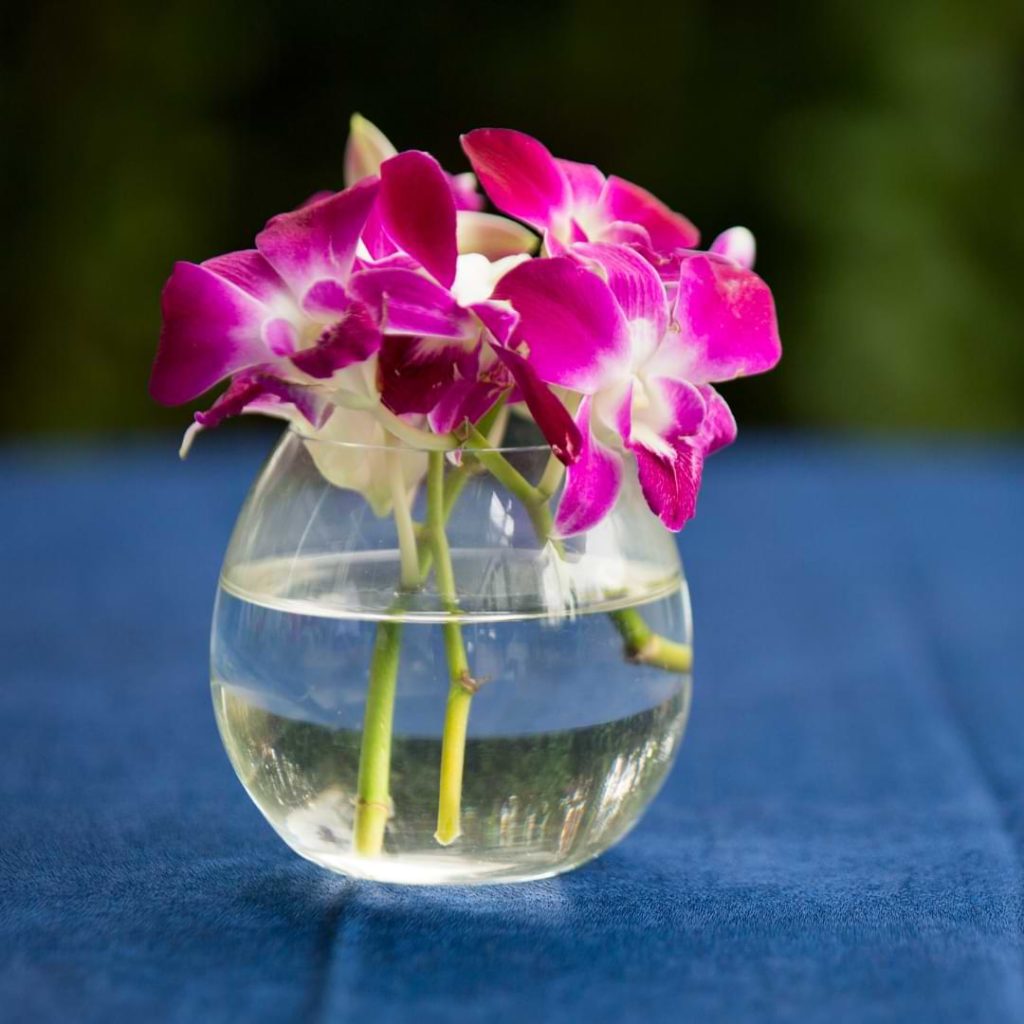
First of all, make sure you select a stem, not a flower spike. Flower spikes will survive in water for a little while and look pretty, but they will not develop into a new plant.
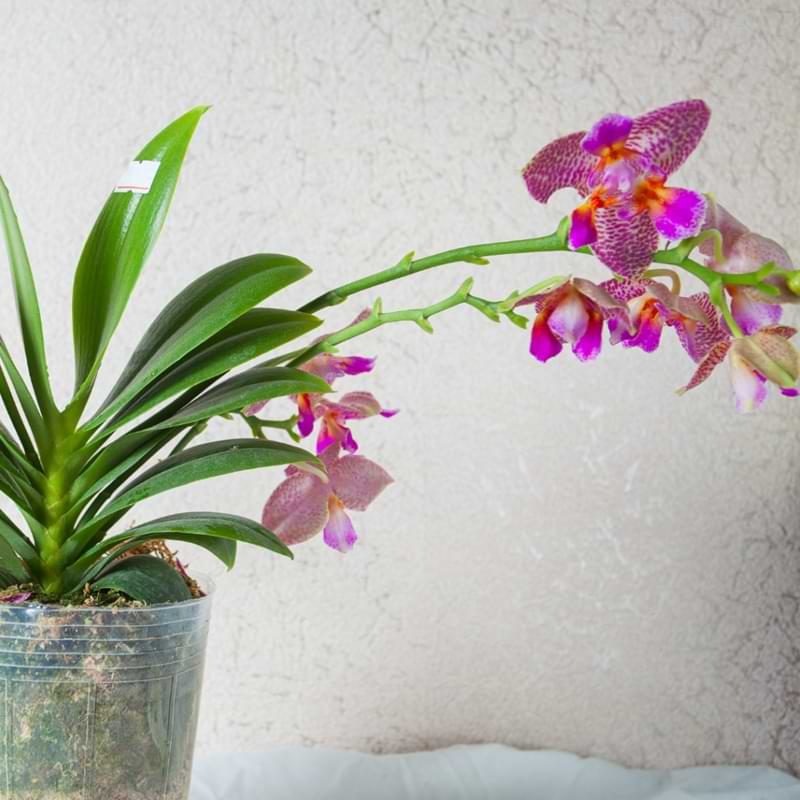
Remember, the stem is the cane that the leaves and flowers are attached to, not the leaves and flowers themselves.
Choose a stem that is large and healthy. The stem should be between 10 and 12 inches long with multiple nodes. The nodes are where the new orchids will (hopefully) sprout from. You’ll cut the stem near the base of the plant when you are ready to take the cutting.
Tools for Taking Cuttings
The most important part of this process is to make sure that your tools are sterile. Orchids are vulnerable to fungal infections during the propagation process.
You can either use a sharp knife or sharp scissors to take the cuttings. Either one works as long as you thoroughly clean your tool before cutting.
You’ll also want to have an antifungal agent on hand. Most growers like to use cinnamon or charcoal. Either of these can be placed on the cut end of the stem to prevent an infection from wrecking your propagation process before it produces new orchids. Our propagation promoter and rooting hormone can also be used for this process.
Rooting an Orchid Stem in Water From a Cutting
The process of rooting an orchid stem in water will probably seem different from what you expect. While the stems do need moisture in order to create new orchid sprouts, they do not need to constantly sit in water.
Instead, you will wrap the stems in sphagnum moss and then dampen the moss. This way the stems have the humidity that they need but they are not completely surrounded by water.
Propagating Jars or Tubes
The container that you use for rooting your orchids does not make too much of a difference. The important part is that you have enough space for the stems.
Some people choose to cut the stems into smaller segments with two nodes per segment. If you do this, you’ll need to apply an antifungal agent like cinnamon or charcoal on the cut ends. For short segments, you can use a jar or tube, but you can also use a potting tray as a container.
If you have trouble keeping your cuttings upright in their container or medium, you should try these easy-to-use node holders! This handy propagation tool is a simple way to keep root cuttings healthy and in place while they take root, which gives those roots more room to grow without the added pressure of supporting the plant’s weight. This plant node support also helps your cuttings root faster!
Other people keep the stem in one segment, which helps to lessen the chance of a fungal infection. You will have to cut the stem into sections later once new plants begin to sprout from the nodes. For these longer segments, tall tubes or jars are best. If you have a vase with mostly straight sides, this would also work well for propagating orchids.
Make sure that you have either a plastic bag or plastic sheet that can cover the top of your container to help keep the environment humid. The plastic needs to be clear and have a lot of tiny holes that allow air circulation. You can poke the holes yourself or buy plastic that already has them. Sometimes fruit or vegetables from the grocery store come in bags that work perfectly for this purpose, so check your kitchen first.
Orchid Rooting Supplements
If you’re like me, you try to keep your new supplies to a minimum for projects. Orchid rooting supplements are optional for propagating orchids from stem cuttings, but I think it makes the process easier and increases your chances of success.
Although some orchid growers are able to get their orchids to propagate easily without using a rooting supplement, other orchid lovers find that using rooting hormone makes the process more reliable.
Rooting hormone pastes are usually marketed as keiki pastes or as orchid cloning pastes.
If you’ve chosen to use a rooting hormone to help with propagation, here’s what to do.
Peel back the thin layer of tissue at several of the nodes on your cuttings. Not every node will produce a new orchid, so you’ll want to make sure to select several to work with. Next, apply a small amount of rooting hormone paste to the node area. Then proceed to follow the rest of the steps for rooting an orchid.
Again, this step is optional. Orchids can develop new growth without using rooting hormones. It just usually takes longer without using the rooting hormone paste. You’ll still have to be patient whether you use rooting hormone paste or not because propagating from cuttings takes a while.
Daylight
Since your orchid cuttings are wrapped in sphagnum moss to begin with, they do not need an excessive amount of light. In fact, it’s important to make sure to keep the cuttings out of direct sunlight so that you do not accidentally “cook” them in the sun.
Keep the cuttings in a spot with indirect sunlight instead, and away from too much heat. Also, be sure that there is humidity and moisture available for the cuttings, and that they’re not in a spot where they dry out too quickly.
Once your orchid cuttings produce sprouts that are large enough to transplant into their own containers, you’ll still need to keep the new orchids out of direct sunlight. You don’t want to damage the tiny new orchids that you put so much effort into.
How Long Will Orchid Roots Take to Grow?
You’re probably excited by the idea of propagating orchids and eager to see your new orchids grow. However, be aware that you will need to be patient. Don’t start imagining what your orchid collection will look like with all of your new orchids too quickly.
You may see new growth developing along the stem nodes that you’ve wrapped in moss after as soon as six weeks. More realistically, you should expect to see growth within a few months. Rooting hormone paste can speed up this process, so definitely consider using a rooting hormone if you know that you will have a difficult time waiting.
Once you see growth, you’ll still have to wait a bit before transplanting the new orchids. Wait until the baby orchids have 2-3 inches of root growth and at least two leaves before moving them to their own orchid pots.
You might have to wait a year from start to finish with this process. Don’t let that timeline deter you, though. Propagating your own orchids is a rewarding activity. Also, it’s very possible that multiple stem nodes will produce new growth, and you’ll end up with multiple new orchids at the end of the propagation process.
How to Grow Orchids From Cuttings Step by Step
Growing orchids from cuttings is different from growing other plants from cuttings. You cannot just snip off part of an orchid, place it in water, and expect new roots to begin growing. However, even though propagating orchids from cuttings takes a little more effort than it does with other plants, it’s still worth trying.
Here’s how to go through the process step by step.
- Select a healthy orchid stem that is between 10-12 inches long with multiple nodes. Using sterile scissors or a sterile knife, cut the stem near the base.
- Use an antifungal agent like charcoal or cinnamon on the cut areas to help prevent infections. Orchids are more prone to infections during this process than other plants.
- Next, decide whether you will cut the stem into smaller portions or not. Some people cut the stem into sections of two nodes each. Other people leave the stem intact. You can do either method. Just make sure that you use charcoal or cinnamon on any new cuts that you make.
- If you are going to use rooting hormone, this is the time. Rooting hormone paste can increase the number of new orchids that develop and help those orchids develop faster. To use rooting hormone, carefully remove the covering from the stem’s nodes and apply a small amount of rooting hormone paste.
- Wrap the stem(s) in sphagnum moss. This helps retain moisture.
- Place the wrapped stems in the container of your choosing. Place some water in the container for the sphagnum moss to soak up. There should not be extra water pooling in the bottom of the container.
- Place plastic wrap or a plastic bag over the opening of the container. The purpose is to keep the environment humid, but make sure that there are multiple tiny holes in the plastic to allow some airflow.
- Keep the stems in a humid, warm environment until growth occurs. Be careful not to let the moss dry out completely.
- Check the stem nodes to look for growth. Not every node will sprout, and it may take a few months to see any progress.
- Keep the sprouts in their containers until they have roots that are 2-3 inches long and have at least two leaves. Once the sprouts begin to develop leaves, wrap the moss more loosely around the stem, skipping portions to allow more space for the sprout.
The hands-on part of propagation does not take that much time, but you will have to spend a while waiting for the new orchids to develop. Keep reading to find out when your tiny orchids are ready to be transplanted and how to best provide care for them.
Best Orchid Soil Potting Mix
When your tiny orchids are mature enough to be transplanted, then it’s time to think about the best soil to use. After putting time and effort into these new orchids, you want to make sure that they survive.
The soil that you use for your orchid matters. Without the proper components in the soil, your orchid won’t be able to obtain the nutrients that it needs to thrive, so it’s important that you choose good soil for your orchids.
You cannot use regular potting soil for orchids. In the wild, most orchids don’t grow in the soil. Instead, most of them grow among tree branches, giving the roots lots of access to air. Regular potting soil would be way too dense for orchids and definitely would not provide the right environment.
The perfect orchid potting soil mimics orchids’ natural environment. Good orchid potting soil usually includes a mix of moss, tree bark, and other organic matter.
One of our go-to brands for orchid potting mix is Sun Bulb’s Better-Gro Phalaenopsis Mix. This product contains materials that allow for good drainage and proper airflow to your orchid’s roots.
There are plenty of other good-quality orchid potting mixes available as well. The important part is to make sure that you choose a mix that is designed for orchids. Other types of potting soil just aren’t going to cut it when it comes to orchids.
Drainage
We’ve just talked about how orchids need proper drainage and good airflow in order to flourish. Like we said earlier, choosing the correct potting soil helps ensure adequate drainage, but there is another important factor that affects drainage: the correct container.
Unless you possess superpowers that allow you to know exactly how much water to give your orchid each time you water it, you’ll need to choose a pot with drainage holes. This allows excess water to drain out of the bottom as needed.
There are many beautiful pots available with drainage holes, so don’t be tempted by the pots without them. Or, if you do buy a pot without drainage holes, plan to add some before you plant anything in it.
Orchids really do not like it when their roots sit in water for too long, so make sure that you choose potting mix and pots that help with drainage.
Pot Size
You might think that bigger is better when it comes to a container for your orchids, but that is not the case. Small orchids need small pots, and larger orchids need large pots.
If you place a small orchid in a large pot, then there may be too much potting mix, which could prevent proper airflow and damage the roots. You should move orchids to larger pots before they become root-bound, but their new pots should only be slightly larger than their previous pots.
Most orchids need a pot between 4-6 inches large. However, you may need to transplant your new orchids into even smaller containers when you first move them because they are not yet as mature as the orchids for sale commercially.
How to Plant an Orchid Stem Cutting
Once you have a new orchid sprouting from your stem cutting, continue to keep the environment humid. When the new sprout has roots that are between 2-3 inches long and at least two leaves, you can plant the new tiny orchid in its own pot.
Just like with any orchid, you’ll want to make sure that you have good soil designed for orchids in the pot. Cut off most of the stem below the new orchid, being careful not to damage the new plant. Leave about an inch of the stem intact. You can use the stem to help anchor the orchid in the new growing medium.
In a pot mostly filled with orchid potting soil, gently spread out the orchid’s roots. This will help the roots absorb water better. Then carefully cover the top of the potting mix and the exposed roots with sphagnum moss to keep the roots from drying out too quickly.
You’ll need to mist the new plant every day while it gets established. Most orchids will need a consistent temperature of between 65 and 75 degrees Fahrenheit, but this may differ somewhat depending on the type of orchid.
How to Check if Roots Are Growing
As you are waiting for your orchid clones to sprout, you’ll simply unwrap the sphagnum moss that is around them to check for growth. Once the roots and leaves begin to appear, move the sphagnum moss to other parts of the stem in order to leave more room for the new orchids. The roots will probably begin growing downward toward the sphagnum moss looking for nutrients, so this makes it easy to see how long the roots are.
Once the orchids are in their own container, then you’ll very lightly cover the roots with sphagnum moss. All you’ll need to do is gently push the moss aside to check on root growth. Do not be alarmed if you do not notice new root growth soon after your new orchids are transplanted. They need time to get used to their new environment.
Expect to wait between one to three years after transplanting before you see any flowers on your new orchids. The growing process takes a little time, but the excitement of seeing flowers on orchids that you propagated yourself is worth waiting for.
How Often to Water
Once you transplant your orchid, giving it the proper amount of water is important. While the new plant is still small, you’ll need to mist it every day. Remember that the roots are mostly at the surface of the potting mix to begin with, so they are not able to access moisture very well yet.
When you see the roots beginning to mature and settling into the potting medium, then you can begin to water them like you water the rest of your orchids. Allow the potting mix to dry out between waterings. For most orchids, this means that you will go at least a week between waterings. You’ll also likely need to provide less water during the winter (although there are a few orchids that need the same amount of water during the winter).
Join Our Orchid Care Facebook Community
In our Facebook group of orchid lovers, we’re dedicated to creating a rich and engaging environment where plant lovers can come together and share tips, tricks, and experiences.
If you’re an orchid lover, come join our Facebook community! We can’t wait to celebrate your successes and help you troubleshoot your care routine.
For continued success, you can explore our other articles or visit our online shop for plant care products that are sure to keep your plants boasting rich green leaves and big, bountiful blooms year-round.