Follow these 9 easy steps to make your very own orchid terrarium from scratch.
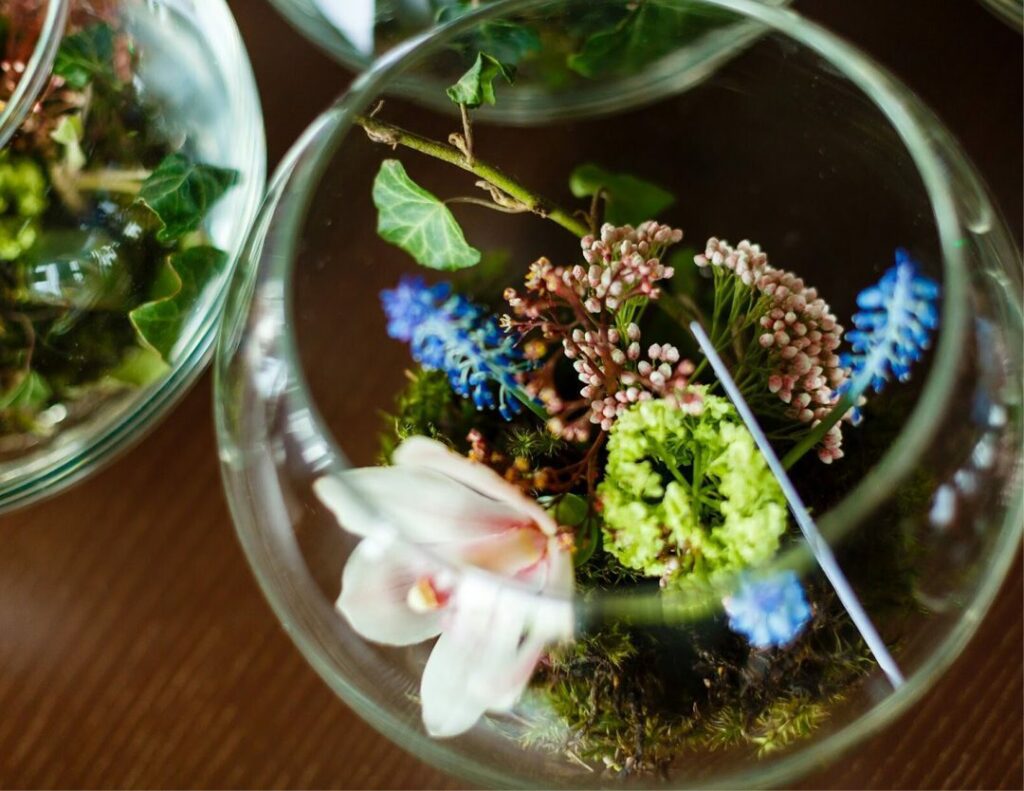
An orchid terrarium is a pure delight. They’re decorative, unique, and give you plenty of creative opportunities, which makes growing orchids easy and fun.
Dialing in your orchid care routine in a small, controlled terrarium environment is typically a lot easier than trying to alter the environment in an entire room to suit your bigger orchid plants. When you create an orchid terrarium, you’re easily able to monitor and alter important growing factors like humidity levels, light, temperature, and airflow, which means you have more control as an orchid grower.
Creating an orchid terrarium also allows you to build your very own decorative scene to show off your orchids. When you buy a regular-sized orchid, your only real chance to get creative is in choosing your orchid’s pot. But with an orchid terrarium, you can add driftwood, cork, tree bark, shells, moss, and even miniature sculptures to stage the terrarium however you like.
We can’t think of a better way to show off your orchid and make it a special part of your indoor garden.
Below, we cover the 9 steps necessary to create your very own orchid terrarium from scratch so you know exactly how to get started.
Step #1: Choose an orchid.
Choosing an orchid for your terrarium is an important first step. You can’t really go wrong here unless you choose an orchid that’ll quickly outgrow its glass container. Our best advice is to choose your favorite orchid type and then check to be sure it’ll stay a favorable size and can withstand low to mid light levels.
While you’re choosing your orchid, it’s also a good idea to pick out some filler plants to accompany your orchid in its terrarium. Small ferns, ivy, and begonias are a few examples of plants that enjoy humidity and are perfect orchid companions.
Professional Tip: Miniature phalaenopsis, vanda orchids, slipper orchids, jewel orchids, and cattleya orchids are known to do well in terrarium conditions.
Step #2: Choose a glass container.
There are lots of options here, but choosing a glass terrarium container doesn’t have to be overwhelming. Our best advice is to choose a case that fits your aesthetic and isn’t too big or too small.
Professional Tip: In an enclosed environment, disease and germs can spread quickly, so it’s important to wash your glass tank with warm soapy water or a diluted bleach solution before you begin adding your substrate, soil, and plants.
Step #3: Add a substrate layer.
A substrate layer will allow your terrarium to hold water without damaging your plant’s roots. Since orchids are susceptible to root rot, it’s important not to skip this step.
Popular substrate layers include eggshells, small stones, or marbles. If you use stones that you’ve gathered from a riverbed or outside garden, wash them first. Using stones with foreign organic matter on them is an easy way to introduce bacteria into your orchid terrarium.
Professional Tip: As a general rule, don’t skimp on the substrate. At a minimum, aim for a 2-inch layer, though you are welcome to add more and use the substrate layer as part of your terrarium’s aesthetic design.
Step #4: Add orchid potting mix.
Be sure to purchase an orchid potting mix, as opposed to traditional plant soil. If you’re on a budget or looking for a hands-on project, you can create your own orchid potting mix by combining peat moss, tree bark, and perlite.
Wet the mix lightly with distilled water so that it is damp to the touch but not soaked through. Then spread the potting mix over top of the substrate layer, making it deep enough to accommodate the roots of the plants you are adding.
Professional Tip: For a neat, layered orchid terrarium, place a nylon stocking or netting on top of the substrate before adding your orchid potting mix. This will keep the layers separated and allow for optimal water drainage.
Step #5: Arrange your orchid terrarium
To plant and arrange your orchid, remove it from its original decorative pot, but keep the orchid in its plastic growing container. The plastic pot makes arranging your terrarium much easier since it allows you to troubleshoot and experiment with different arrangements.
Once you’ve found the perfect position for your orchid, plant other greenery around the orchid in the terrarium.
Professional Tip: For a polished look, add a layer of green moss to your terrarium. It’ll keep your orchid in place while serving as a bright accent.
Step #6: Decorate your terrarium.
This is the fun part! A terrarium environment is a place for you to express yourself as a gardener and an artist. Create a scene with miniature props or use items like driftwood, cork, and tree bark to decorate your terrarium.
Professional Tip: It’s important to wash or sterilize any items that you add to the terrarium environment so as not to introduce bacteria to your plants.
Step #7: Position your orchid terrarium.
Choose a spot for your terrarium that receives sunlight, but not direct sun. If you place your terrarium in direct sunlight, the sun’s heat will be amplified by the glass tank, and your plants might suffer.
Also, keep in mind that placing your tank by a cold windowsill can be dangerous. Your glass tank will make the terrarium environment cold, which could damage your plants.
Professional Tip: It’s best to choose a terrarium spot that is a few feet from a window. This way your terrarium environment won’t be influenced by varying outdoor temperatures.
Step #8: Create a humid environment.
Keeping your orchid terrarium healthy means maintaining optimal humidity levels inside your glass container.
If you’re using stones or marbles as your substrate layer, add an inch of water on the bottom of your terrarium. If you choose to use eggshells or include soil, mist the terrarium thoroughly on a regular basis.
Professional Tip: For best results, use distilled water when you mist or water your terrarium plants. This will help mitigate the risk of introducing salt residues or minerals into the controlled environment.
Step #9: Fertilize your plants.
To ensure your orchid terrarium stays healthy year-round and boasts big, bountiful blooms during flowering season, be sure to use an orchid fertilizer.
Our Premium Orchid Food formula is gentle so it won’t harm your orchid or terrarium plants, and it’s liquid, which is an optimal delivery method for orchids since it’s easily absorbed.
Professional Tip: Using Premium Orchid Food is easy. Simply add the fertilizer to your watering routine and care for your plants as usual. Then enjoy your terrarium and its blooms. Simple as that.
Join Our Orchid Lovers Facebook Community
With these 9 easy steps, you’ll have your new orchid terrarium in no time. Here’s a quick recap so you can get started today.
Follow these steps to build your orchid terrarium from scratch:
- Choose an orchid.
- Choose a glass container.
- Add a substrate layer.
- Add orchid potting mix.
- Arrange your orchid.
- Decorate your terrarium.
- Position your terrarium.
- Create a humid environment.
- Fertilize your plants.
To dial in your success, join our community of orchid lovers so we can cheer you on. Pop into our Facebook community to connect with other orchid growers, ask questions, and share photos of your orchid-growing journey.
To deepen your expertise, check out our previous articles on how to master orchid growing, how to care for your orchid if it’s sick, and how to keep your orchid garden thriving year-round.