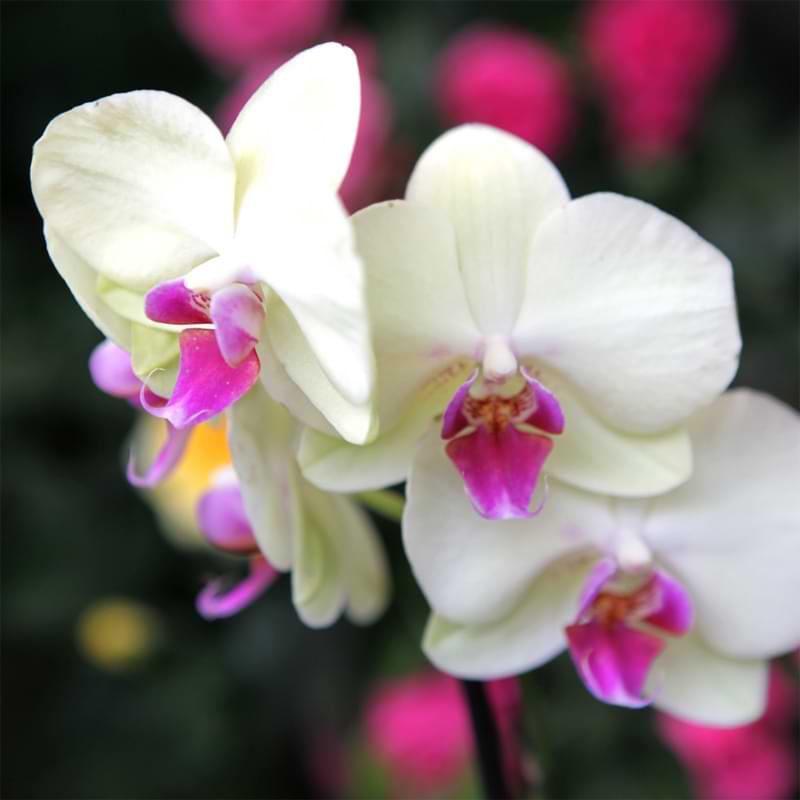
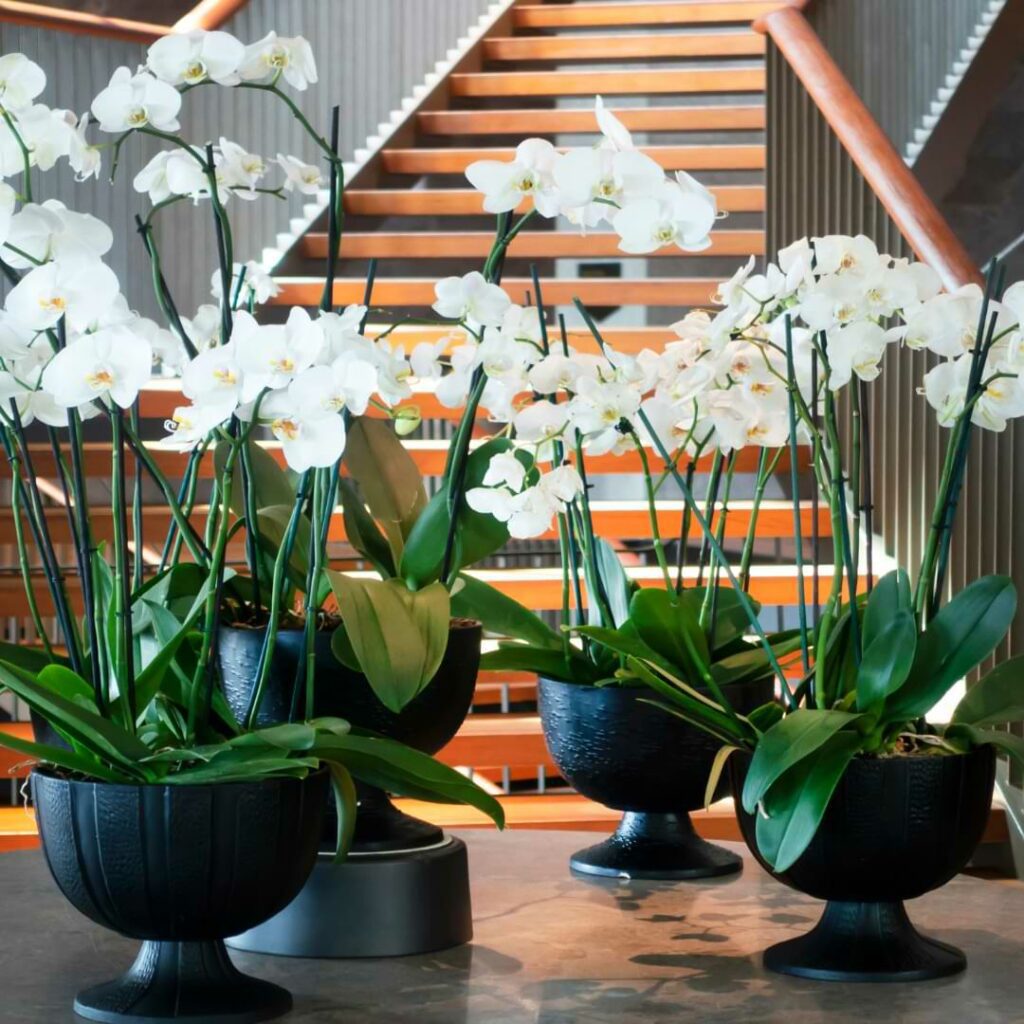
The natural zygomorphic structure, pronounced low lip, and brilliant color schemes make orchids perfect for bringing life and charm into any space – especially when gathered into stunning arrangements. Whether with the ones you’ve grown with our help or a wild variety, this step-by-step guide to orchid arrangements guarantees spectacular results. Let’s get started!
Choosing Orchids for A DIY Arrangement
Unopened vs. Opened Orchids
Using orchids with unopened buds will enhance your arrangement’s longevity while using opened orchids will provide an immediate visual impact.
Check the Roots
Healthy roots will be the key to a beautiful arrangement. As long as the roots are light green when dry and dark green when wet, you are good to go.
Inspect Orchid Systems
Pest, mold, and other diseases can easily spread from one plant to another, so it is important to carefully inspect the orchid systems before including them in your arrangement. Look for any signs of damage or infestation on the leaves, stems, and flowers. The best orchid arrangements start with specimens that have the following:
- green, vibrant leaves
- sturdy stems without any signs of wilting or discoloration
- healthy and colorful buds
You’ll also want to wait until the orchid has reached a mature state before using it in an arrangement, usually about 6 to 8 months after pollination or when it has produced multiple flower spikes.
Tools & Equipment Needed for Orchid Arrangements
To ensure the health and vitality of the final outcome, you must have:
- healthy orchid plants (same or different varieties)
- a vessel/container large enough to fit everything in the arrangement
- a suitable potting medium (we recommend moss or smart gravel)
- sharp pruning shears
- indoor potting soil & plant fertilizer
You may also need a few additional items depending on the style or complexity of your orchid arrangement:
- air plants
- driftwood/bark chips
- plant poles
- ribbon or twine
These items add a personal touch of elegance to your orchid arrangement and will help you achieve the exact look you’re going for.

5-Step Guide To Orchid Arrangements
1. Set Out Your Tools
As with any floral DIY project, preparation is key. Make sure you have all of your materials and tools laid out before starting to create your orchid arrangement. This will save time and prevent any interruptions once you start arranging.
2. Prepare Your Container
You should make sure to clean and sanitize your container thoroughly before starting your arrangement. Doing so will reduce any contamination or pest issues that could ruin your arrangement before it gets the chance to impress.
Additionally, if you are transferring orchids from their original container into a new one, put a bit of fresh potting soil at the bottom of the new container to provide a healthy foundation for your plants.
3. Remove Orchids for Transfer
To remove your orchid from its original container, gently hold the base of the plant with one hand while using your other hand to steady the pot as you pull gently. Once it’s out, carefully loosen the roots and check for signs of damage or infestation. Cut off any damaged roots with your sharp pruning shears.
Pro Tip: It is perfectly fine to keep orchids in their original pot for the arrangement to facilitate easier rotation and periodic checks on root systems.
4. Start Arranging
Each time you remove an orchid from its original pot and prune away any damaged roots, place it immediately into the pre-soiled vessel that will be its new home. If you have a lot of orchids you plant to add to the arrangement, give the roots a bit of hydration with your watering can or a spray bottle to reduce plant shock.
While there is no specific technique for arranging orchids, many find these general guidelines to be helpful:
- Taller and bigger plants in the center or toward the back
- Smaller plants along the edges or in the front
- Leave room between plants to allow for growth, air circulation, and other mediums
Once all your orchids are in place, add more potting soil and plant fertilizer to the vessel. It should be filled high enough to stabilize the plants and their roots but not so much that you don’t have room for other accents and potting mediums.
If you have decided to keep your orchids in their original pots, you can place them directly in the vessel without additional potting mix. Be sure that your vessel is big enough for the original pots without overcrowding the plants or limiting space for additional mediums.
5. Add Potting Medium & Personal Touches
After all orchids are transferred, it’s time to add potting medium and personal touches. If you plan to add air plants, put those in before adding any other medium. It is also a good idea to insert any poles or stakes before adding the potting medium so that you can easily secure them in place.
Add your potting medium of choice after all additional plants and accents are in place. The amount you use may vary, but it is important to add a small amount at a time so as not to create a giant mess in the process.
If you are adding moss, be sure to pack it around each orchid lightly. For smart gravel, add enough to cover the top layer of soil but still leave space for air circulation.
Caring for Orchid Arrangements
Water Requirements
Maintaining the perfect moisture for your orchid arrangement is a delicate task. Overwatering can cause root rot and other diseases while underwatering can lead to dry and unhealthy plants.
Orchids should receive approximately 1/4 cup of water a week during their growth cycle and 1.5 tbsp during their dormant periods.
Pro Tip: While shopping for accents to enhance the arrangement, don’t forget to pick up a moisture meter to help you maintain optimal hydration levels.
Position & Light Requirements
Orchids require a lot of light, but not direct sunlight, as it can cause burns on the leaves and stems. A good rule of thumb is placing them in an area that receives bright, indirect light for 10-12 hours daily.
Once budding occurs, blooms will be drawn toward the light source, so periodically rotate your arrangement to achieve even growth.
Temperature & Humidity
Orchids come in three categories, each with specific optimal temperature zones. Cool orchid species thrive in temperatures between 50-70°F. Intermediate orchid species prefer temperatures between 60-75°F. Warm orchid species do best in temperatures ranging from 64-80°F.
As for optimal humidity levels, orchids prefer 40% to 70%, depending on the species. For comparison, health experts recommend keeping a home at 40% to 50% humidity, so you may or may not need to implement other control techniques depending on the orchid species or time of year.
Create Stunning Orchid Arrangements for Any Occasion
Growing orchids is fun, but the real joy comes from arranging them into beautiful displays. With these tips and tricks, you can create stunning centerpieces that will impress any guest or brighten up any room in your home. So shop our store for the tools and equipment needed to create gorgeous orchid arrangements for every space in your home.
Show off your arrangements or get help from other plant enthusiasts by joining our Facebook group. And don’t forget to subscribe to our newsletter for more expert care tips, announcements, and exclusive deals on our high-quality orchid shop products.
If you’re an orchid lover, come join our Facebook community! We can’t wait to celebrate your successes and help you troubleshoot your care routine.
For continued success, you can explore our other articles or visit our online shop for plant care products that are sure to keep your plants boasting rich green leaves and big, bountiful blooms year-round.


