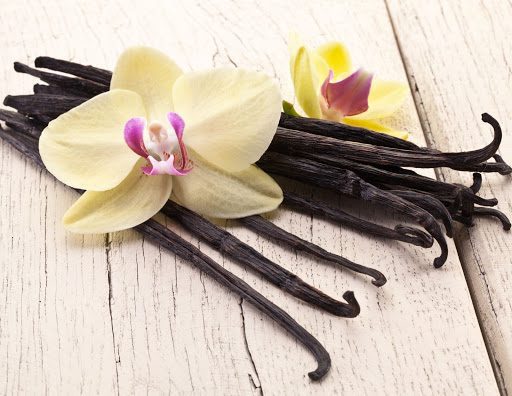
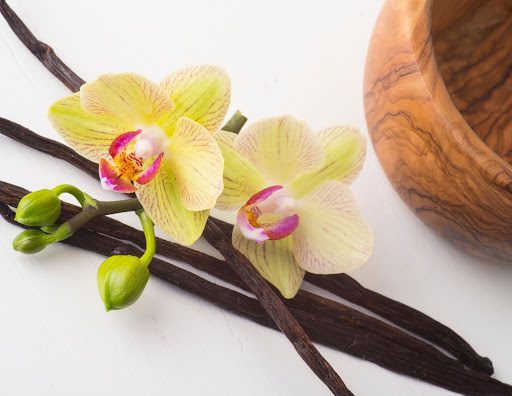
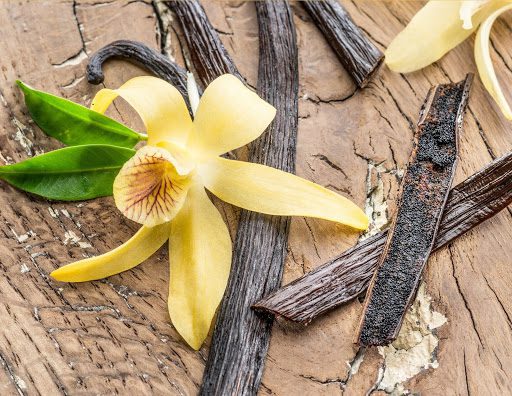
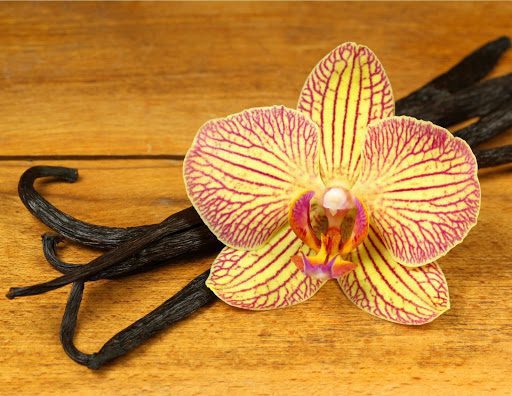
Vanilla bean orchids are responsible for producing the classic vanilla bean pods that are used to make all sorts of your favorite sweets. The vanilla flavor you love in ice cream, birthday cake, and your morning latte? It comes from an orchid plant.
Like many orchids, the vanilla orchid is a tropical plant that requires humidity and warm temperatures to thrive. In the tropics, the vanilla orchid is an epiphyte that grows along host trees, drawing nutrients from the air. In optimal conditions, each long, spindly vine can boast hundreds of flowers and many vanilla bean pods.
The vanilla orchid is also grown as a houseplant. It’s important to provide the right conditions for your orchid since it requires a carefully controlled climate to flower and grow its coveted bean pods.
While the vanilla orchid isn’t an easy plant for beginners, it’s a perfect orchid plant for enthusiasts up for a challenge. Growers who live in a frost-free climate or who have a greenhouse are at an advantage.
Below, we’ve outlined the basic needs of the vanilla bean orchid so you can enjoy coaxing the plant into flower and maybe even harvest some of your very own vanilla.
Light for Your Vanilla Orchid
Your vanilla bean orchid loves bright light, but it will easily burn in direct sunlight. For best results, keep your orchid in a bright but partially shaded area.
Professional Tip: Because of its light and humidity needs, growing a vanilla orchid in a greenhouse is a popular choice. If you’re growing your vanilla orchid inside, a very bright south-facing room is best.
Soil for Your Vanilla Orchid
For best results, place your vanilla orchid in a growing mix of fir bark and peat or sphagnum moss. The mixture will provide good drainage, a key factor in keeping your vanilla orchid healthy.
Professional Tip: In greenhouse conditions, vanilla orchids can grow up to 20 or 30 feet long. Indoors, you can expect your orchid to grow a few feet in length, so be sure to provide it with a stake or trellis to vine along as it grows.
Watering Your Orchid
Water your vanilla bean orchid when the potting medium is nearly dry. When you do water, give the plant a thorough drink until water runs from the pot’s drainage holes.
To prevent root rot and discourage pests, allow the potting mix to dry out slightly between waterings.
Professional Tip: Along with developing a good water routine, place your orchid over a humidity tray. As the water evaporates from the humidity tray, your orchid will bask in the moist air.
Ideal Temperatures for Your Vanilla Orchid
Vanilla orchids require hot temperatures during the day and slightly cooler temperatures at night. Aim to keep your orchid’s environment between 80 and 95 degrees Fahrenheit during regular daytime hours. Temperatures between 60 and 70 degrees Fahrenheit are ideal during nighttime hours.
It’s important to note that vanilla orchids are not frost-tolerant, so cold temperatures will easily kill your plant.
Professional Tip: Vanilla orchids thrive in tropic-like conditions. To keep your plant moist, mist your plant regularly and use a hygrometer to achieve 80 percent humidity around your plant.
Propagating Your Vanilla Orchid
You can propagate your vanilla bean orchid in a few simple steps.
- First, choose a vine for cutting. You should pick a vine segment that has at least six growing nodes on it. Remove the two lowest leaves on the cutting so you’ll have plenty of room to place it in a new pot.
- Then fill a small orchid pot with potting mix, and place the new vine in the pot. Pack the medium tightly around the cutting’s base.
- Insert a plant stake into the pot and secure the cutting to it with ties.
- Finally, keep the growing medium damp for a few weeks. Once the orchid begins to vine, you can let up on watering and train the vine on a larger trellis.
Professional Tip: The vines of your vanilla orchid are delicate. When you’re handling your plant, be careful not to be too firm with the vine, as it’s liable to break.
Common Pests and Diseases
Vanilla bean orchids are susceptible to root rot and fungal diseases. The best way to prevent both root and fungal rot is to avoid leaving stagnant water on your plant’s leaves or in its potting mix.
Common signs of disease are brown spots, wilting stems, dry leaf tips, mushy roots, or yellowing leaves. If you notice these signs plaguing your vanilla orchid, cut and remove disease-affected areas.
Good air circulation will prevent fungal growth and root rot, so be sure to keep your vanilla orchid in a well-ventilated space.
Professional Tip: To best protect your orchid against brown spots and leaf drop, we recommend using our Root Rot Treatment. It’s a ready-to-use supplement that will ensure your plant maintains a healthy root system, so it’s able to absorb nutrients and avoid fast-spreading diseases.
Harvesting Vanilla From Your Orchid
Vanilla pods take at least three years to appear—and even so, the plant requires ideal conditions to sprout pods. When your vanilla orchid sprouts slender green bean pods, it’s time to harvest.
The curing process for vanilla beans is quite labor-intensive. Every day for six weeks, the bean pods go through a sweating and drying process. Nightly, the bean pods are wrapped in a blanket to encourage condensation. During the day, the bean pods are placed in the sun or under heat lamps. Then the shriveled pods are kept in a dark, dry place for three months before they’re stored in air-tight containers and sold at premium prices.
Professional Tip: If you’re blessed with a sprouting vanilla bean, wait until the bean pods are about 6 inches long to harvest. Harvesting small or short bean pods will yield a less impressive vanilla bean after the processing procedure since bean pods will shrivel and shrink a bit.
Fertilizing Your Orchid
Fertilize your vanilla orchid regularly to keep it healthy, nourished, and thriving. A consistent feeding routine is recommended, though you should avoid strong fertilizers since they can easily damage your orchid’s delicate root system.
Professional Tip: We recommend our easy-to-apply Premium Orchid Food to nourish all your orchid plants. Our fertilizer is formulated to supply the correct nutrients to your orchids and requires no mixing or measuring. Just spray and watch those blooms explode!