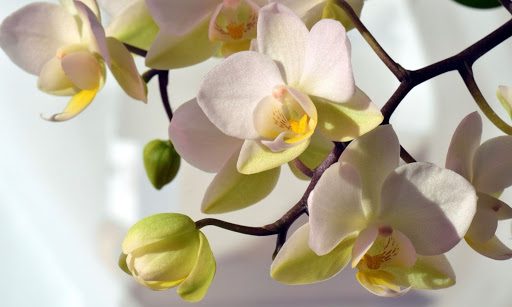
Learn 5 simple secrets to a healthy orchid that’ll keep your orchid healthy all year long.
Learning how to grow an orchid can feel overwhelming, especially if you’ve tried to grow an orchid in the past and it didn’t quite work out.
But growing an orchid and keeping it healthy year-round isn’t as complicated as it sounds. In fact, there are a few simple secrets to orchid-growing success, and we can’t wait to share them with you today.
Let’s take a look at 5 simple secrets to growing a healthy orchid that’ll take you from orchid amateur to orchid pro and give you happy, healthy orchids year-round.
Healthy Orchid Secret #1: Give your orchid morning sunlight.
You may already know that most orchids thrive in indirect sunlight, but if you really want to give your orchid plants optimal light, position them where they’ll receive bright morning sunshine.
For best results, choose an east-facing room and be sure to place your orchid a few feet back from the window, perhaps on a bookshelf, desk, or stand-alone table. South-facing rooms with big windows will provide great morning light too.
Professional Tip: It’s important not to let your plant sit in direct sunlight for too long since orchids are sensitive to harsh sun rays. To avoid letting direct sunlight damage your plant, adjust the window blinds or hang a sheer curtain to diffuse direct sun rays.
Healthy Orchid Secret #2: Put your plant on top of a homemade humidity tray.
One of the most common mistakes growers make when it comes to caring for their orchids is placing them in a room that’s too dry. Remember, orchids usually come from tropical habitats that usually boast about 60-70% humidity. Most home environments don’t provide nearly enough humidity for an orchid to thrive.
The secret to making up for the lack of humidity in your home is to lightly mist your plant on occasion and place it on top of a humidity tray. You can purchase a commercial product or make your own tray with a shallow dish and a handful of pebbles or stones.
The key to using a humidity tray is to make sure your plant isn’t sitting in water. Without placing your plant on top of a bed of stones, the water in the tray will seep into your orchid’s pot and keep it’s potting mix damp—a quick way to kill your plant.
Professional Tip: Orchids typically need more humidity in winter when the air is dry and the heat is on. Be sure to keep your humidity tray full during the winter months.
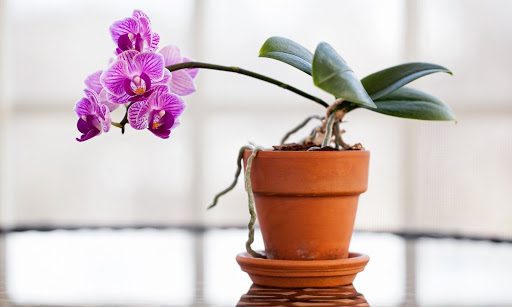
Healthy Orchid Secret #3: Use a terracotta orchid pot.
It can be tempting to pot your orchid in a fancy urn or decorative pot, but elaborate pots usually don’t provide orchids with enough draining to keep them happy and healthy. If your orchid is in a pot without proper drainage, its roots will quickly suffer from root rot, which is a surefire way to accidentally kill your plant.
Terracotta pots are a wonderful choice for orchids because they’re breathable and usually have pre-drilled drainage holes. Additionally, terracotta pots are typically simple in design, so they’re a nice complement to your orchid when it’s in bloom.
Professional Tip: If you’re looking for an alternative to terracotta pots, check out our article “The Ultimate Guide to Buying the Right Orchid Pot.”
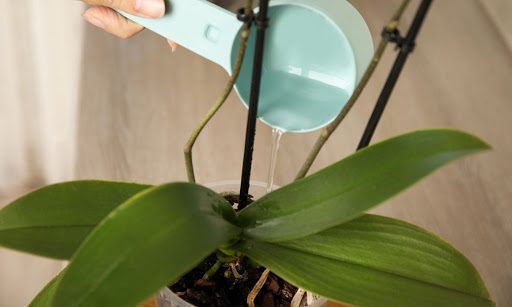
Healthy Orchid Secret #4: Practice the double-soak watering technique.
The number-one orchid-growing mistake? Overwatering. To avoid watering your orchid too much, use the double-soak technique.
Here’s how you can do it:
- Take your orchid and its pot (or plastic insert) to your sink.
- Run the faucet and wet your orchid’s potting mix thoroughly. Avoid the crown, which is prone to rotting if saturated.
- Let your orchid’s pot fully drain. This can take a few seconds, but it’s important not to skip this step.
- When your orchid’s pot stops dripping water, run it under the faucet again to give it a second soak for good measure.
- Let your orchid drain thoroughly before placing it back in its regular spot.
A good rule of thumb is to use the double-soak watering technique every 7 to 10 days, though be sure to check your orchid’s potting mix to make sure it’s thoroughly dry before watering again.
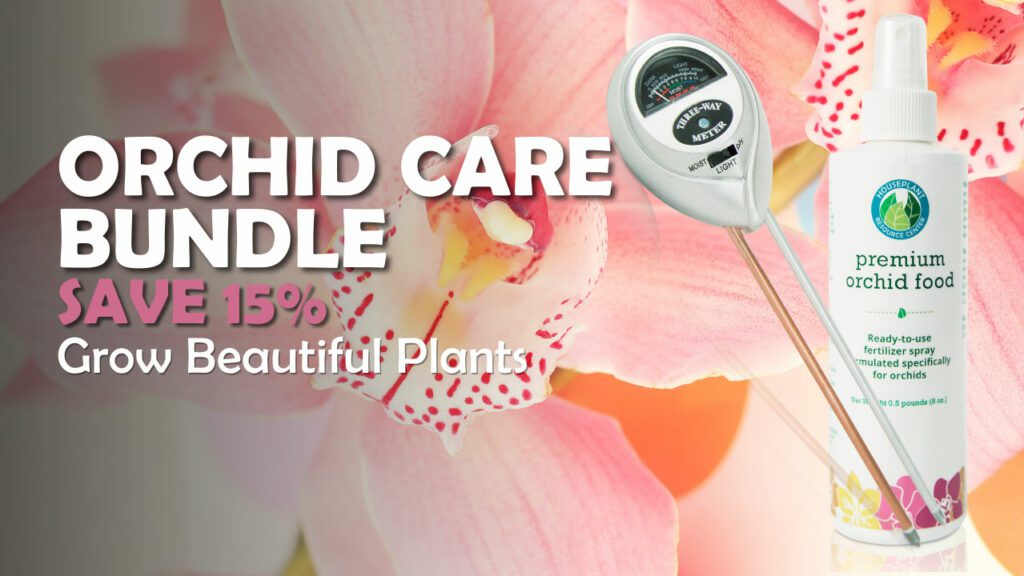
Professional Tip: You can purchase a moisture meter to easily read the moisture levels of your orchid’s growing mix. This will help take the guesswork out of watering and set you up for orchid-growing success.
Healthy Orchid Secret #5: Apply a gentle orchid fertilizer.
Whether you’re caring for one orchid or a whole fleet of orchid plants, you should use a reliable orchid fertilizer to nourish your plants and keep them healthy.
The trick is to use a fertilizer that’s engineered for orchids rather than using a fertilizer designed for a wide variety of houseplants. Regular fertilizers are too harsh for your orchid’s complex root systems and will burn its delicate inner systems.
The right orchid fertilizer will be specifically formulated for your plant’s unique needs and gentle enough so that you won’t risk damaging your orchid.
Use our Premium Orchid Food to nourish your orchid with an easy-to-use spray formula. Simply spray the Orchid Food on your orchid’s leaves, roots, and potting mix every time you water. Then sit back and watch your plant bloom.
Professional Tip: Click here to buy our Premium Orchid Food and start nourishing your orchid today.
A Recap: 5 Simple Secrets to Growing a Healthy Orchid
There you have it! You’ve learned 5 plant-care secrets to keep your orchids happy and healthy.
Here’s a quick recap so you can get started today:
- Give your plant plenty of morning sunlight.
- Place your orchid in a terracotta pot.
- Place your orchid on top of a homemade humidity tray.
- Use the double-soak watering technique to avoid overwatering your orchid.
- Apply our Premium Orchid Food to fertilize your plant and keep it healthy year-round.
For continued success and more secrets to a healthy orchid, explore our other articles, visit our online shop, and connect with other orchid plant lovers in our Facebook group. There you’ll find everything you need to know to grow your orchid garden big and strong so you can enjoy your plants for years to come.

